How to install, configure XAMPP on Windows 10
This article will guide you through the steps to install XAMPP on Windows 10
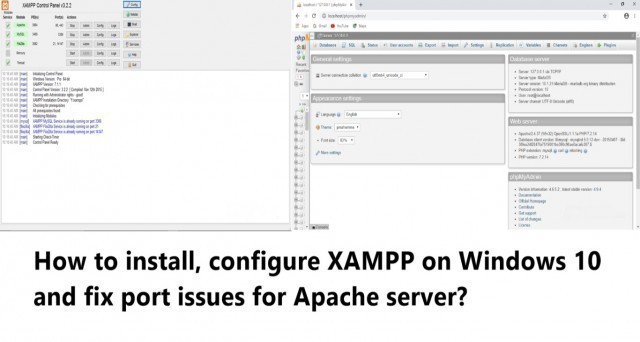
XAMPP is a free open source software. It simulates a real server and is used to test programs written in PHP based software like WordPress, Drupal, Joomla, and others on Windows 10, macOS, and Linux. XAMPP is a set of connected software programs such as Apache, MySQL, FileZilla, Mercury, and Tomcat.
Apache Friends website
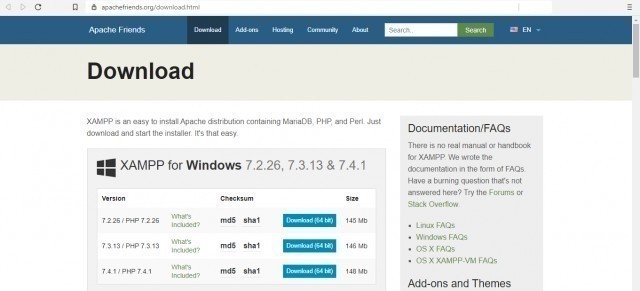
1 - Download the XAMPP installer
- Open the Apache Friends website and download the installer.
2 - Double-click the downloaded file to launch the installer.
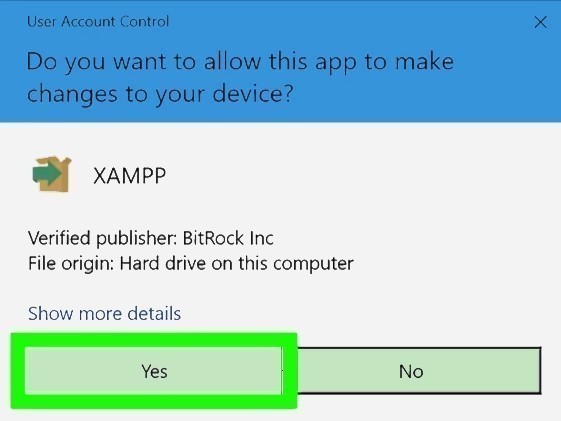
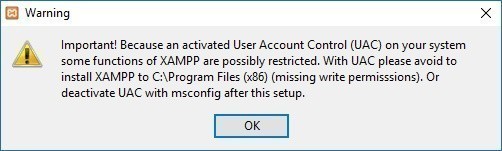
3 - Click Yes when prompted. This will open the XAMPP setup window.
- You may have to click OK on a warning if you have User Account Control (UAC) activated on your computer.
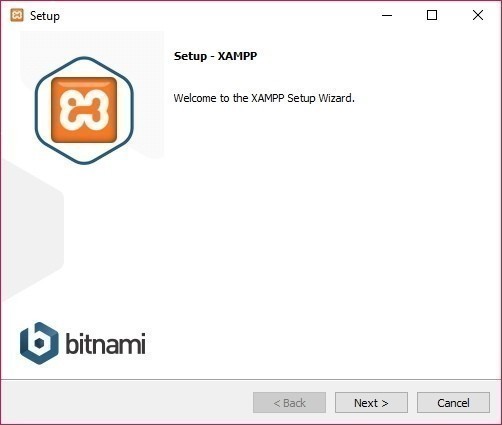
4 - Now you will see the setup wizard.
- Click next to continue.
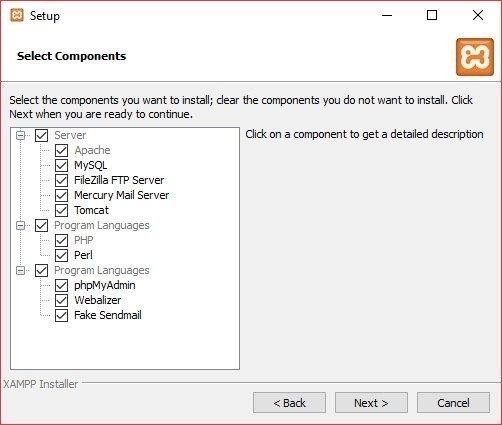
5 - In this dialog box you have to select the components to install.
- It’s recommended to leave the default options.
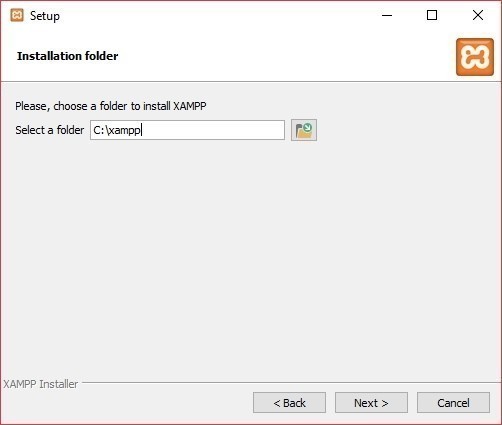
6 - Select an installation location.
- Click the folder-shaped icon to the right of the current installation destination, then click a folder on your computer. To be on a safe side, leave it as it is and click next.
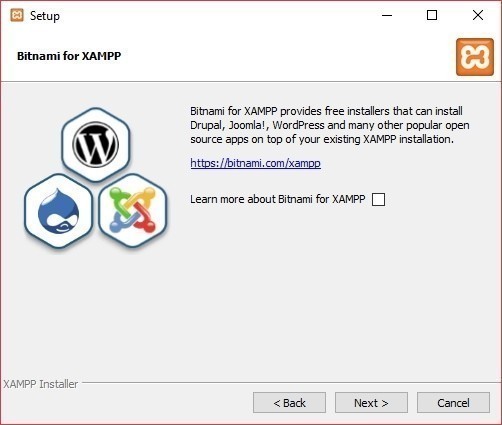
7 - Bitnami for XAMPP
- Bitnami provides free setup for WordPress, Drupal. Click on next.
8 - Ready to install
- Setup is ready to install XAMPP. Click next to start the installation process.
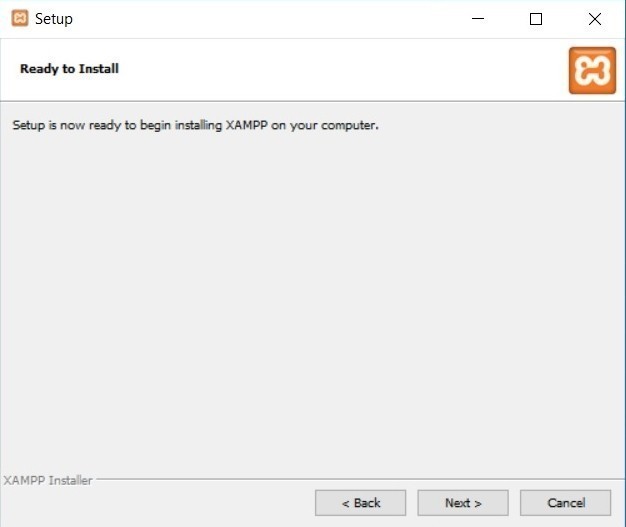
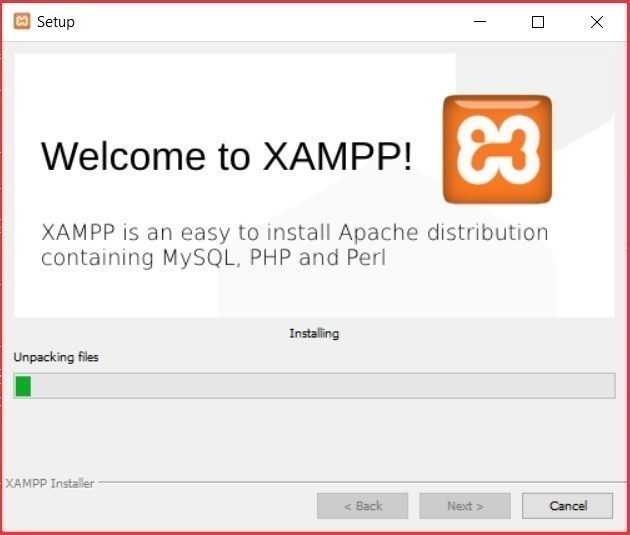
- Wait for the installation process to complete.
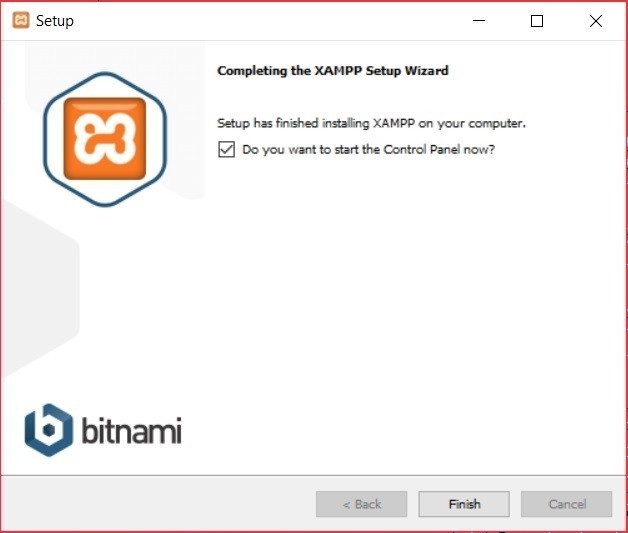
9 - Installation Complete
- Click on Finish to complete the installation.
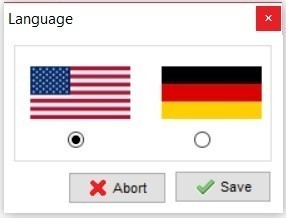
10 - Select Language
- XAMPP when it starts for the first time, it asks for application language. language is for XAMPP only.
- You can chose yours and click on save.


